

- Transform an element: Make a shape, image, group, or other element a child of a bone. The entire element follows the bone’s position, rotation, and scale.
- Deform a vector: Bind the vertices and Bézier handles of a vector path to one or more bones. Adjust their weights to control how the path bends.
- Deform an image: Add a mesh to a raster image, then bind its vertices to one or more bones. Weighted vertices allow the image to bend and stretch smoothly.
Creating Bone Chains
Select the Bone tool from the Bones menu, or press B. Click once to place the start of the first bone, then click again to set its length and rotation. Continue clicking to add bones to the chain. Each new bone becomes a child of the previous bone. Press Esc or switch to the Select tool (V) when you’re finished.Joints
Joints are the points where bones connect. Use them to position and orient bones while building your chain. Joints do not appear as separate objects in the Hierarchy. Moving a joint changes properties such as the length and rotation of the bones connected to it.Root bone
The first bone in a chain is the root bone. It controls the position of the entire chain and is the only bone in the chain with X and Y position properties. Every other bone is positioned by its length and rotation relative to its parent.Controlling Elements With Bones
Transforming Elements
Make an element a child of a bone to control its transform. When the bone moves, rotates, or scales, its children follow without being deformed. To connect an element, drag its layer onto the bone in the Hierarchy. You can parent shapes, images, groups, and other bone groups to a bone. This method works well for rigid parts that should keep their shape, such as a hand, shoe, or mechanical component.Deforming Elements
You can bind bones to the control points of both vector paths and raster images:- Vector paths use vertices and Bézier handles.
- Raster images use the vertices of a mesh.
Before binding a procedural shape, such as a rectangle or ellipse, convert it to a custom path. Select its path layer, then press
Enter.1
Select the element you want to deform, such as a vector shape or a raster image with a mesh.
2
In the Bind Bones section of the Inspector, click the + button.
3
Hold Cmd + Shift on macOS or Ctrl + Shift on Windows, then select the bones you want to bind.
4
Click Done.
Adjusting Vertex Weights
A weight determines how much influence a bone has over a vertex. A vertex can be influenced by one or more bound bones, but its combined weights always equal 100%. After binding, each vertex displays a pie chart using the colors assigned to its bones. The size of each colored segment represents how much that bone influences the vertex. Rive assigns initial weights automatically. To adjust them, select a vertex or group of vertices, then change the weight for each bone in the Bind Bones section of the Inspector. Vertices near a joint often benefit from being influenced by both neighboring bones. Blending their weights creates a smoother bend as the bones move.On vector paths, you can weight a vertex and its Bézier handles independently for more precise control over the deformation.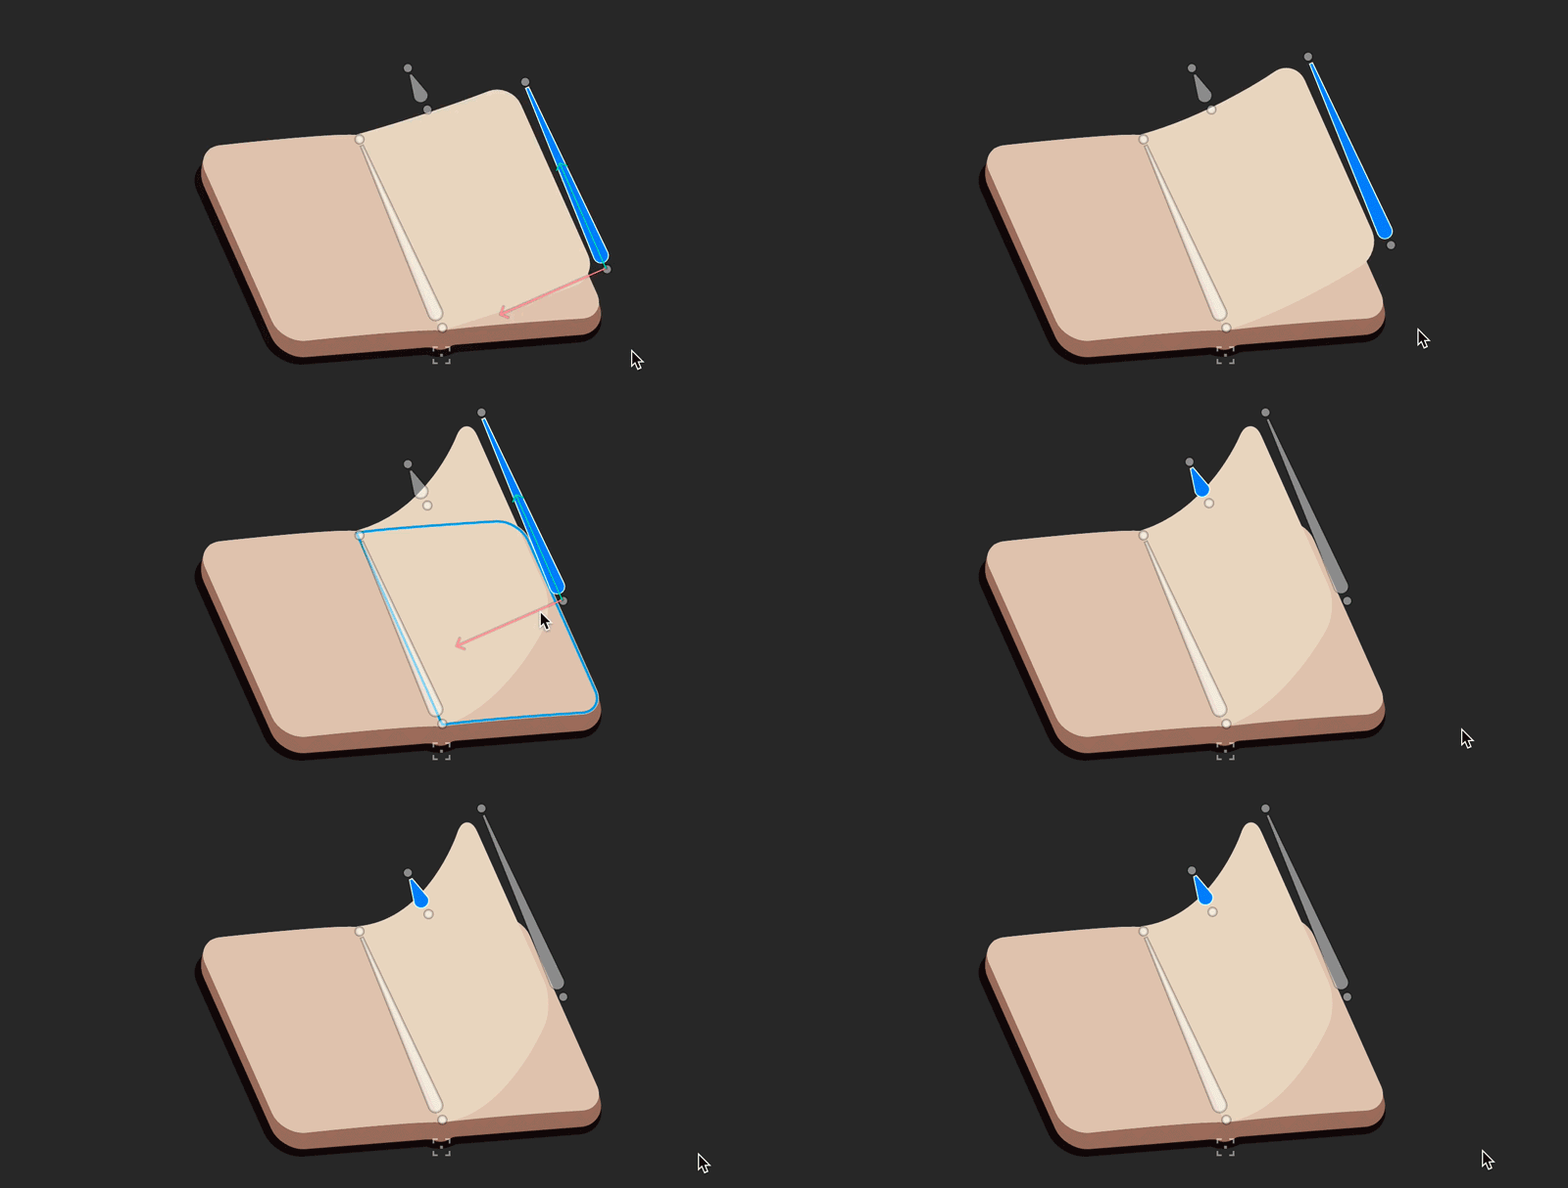
Weight Editing Tools
Rive includes tools to help you adjust vertex weights after bones are bound. Edit Weights lets you adjust the influence of a specific bone on selected vertices. Select a vertex, then select a bone on the Stage or in the Bind Bones section. Drag up or down on the vertex to increase or decrease that bone’s weight. Smooth evens out bone weights across neighboring vertices. If vertices are selected, smoothing applies to the selected vertices. If no vertices are selected, it applies to the entire shape. Auto-Weights automatically assigns weights based on each vertex’s nearest bone, blending where neighboring bone regions meet. If vertices are selected, auto-weights apply to the selected vertices. If no vertices are selected, they apply to the entire shape. Auto-Weights includes two settings:- Blend - controls how widely weights blend at the boundary between two bones. Higher values spread the blend across more of the mesh, creating softer deformation. Lower values create a more rigid result, where each vertex sticks more closely to its nearest bone.
- Influence - controls the maximum number of bones that can influence each vertex.
Mesh View Options
Show Weights shows or hides weight pie charts on unselected vertices. Selected vertices always show their weights while you edit them.For other mesh view options, such as isolating the mesh or showing and hiding triangles, see Meshes.